Easter Basket
Now grab your Magicwand and click inside the bottom part of your basket
Fill with #BE7954
Selections - Float
Apply Cutout of:
Vertical: 2
Horizontal: 2
Opacity: 100
Blur: 20
Shadowcolor #5F361F
Deselect
Magicwand again - this time click inside the rim
Fill with #BE7954
Selections - Float
Apply Cutout of
Vertical: 1
Horizontal: -1
Opacity: 85
Blur: 5
Shadowcolor #5F361F
Deselect
Magicwand one more time - click inside the top and fill with #BE7954
Selections - Float
Apply Cutout of:
Vertical: 2
Horizontal: -1
Opacity: 100
Blur: 7.5
Deselect
Now add a new raster layer
and pixel in some lines as shown
I used #D2A084 and the color of the outline
First go vertical like this:
Then go horizontal like this
Open new transparent Image of
60 x 60
Set Foreground to #5F361F
Grab that Paintbrush
and pixel Outline as shown:
I did mine on separate layers so I could show you the lines
This is what you should have:
*******************************************
Do not copy this in any way to pass out, re-write or put on-line without permission.
Any resemblance to any other tutorial like this is purely coincidental.
Original tut ©Lara Gagnon Nov 2005 and owned by ©AngelBreath Designs as of Feb 2008
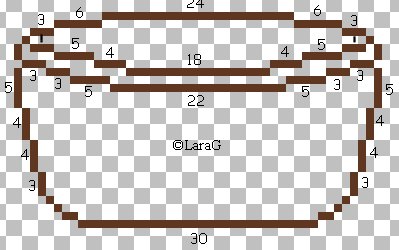
Now when you have your lines apply a Gaussian Blur of anywhere from 0.50 to 0.75
then merge your layers
Now zoom in - you will see that some of the edge of the rim disappeared
pixel it back in with the color of your Outline
Add some handles
(I pixeled mine on a new layer and lowered the opacity on my basket so I could show you how the handles are drawn)
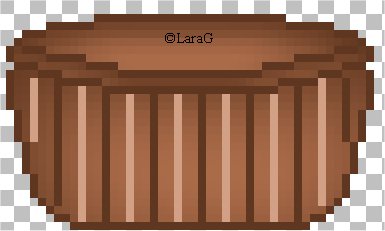
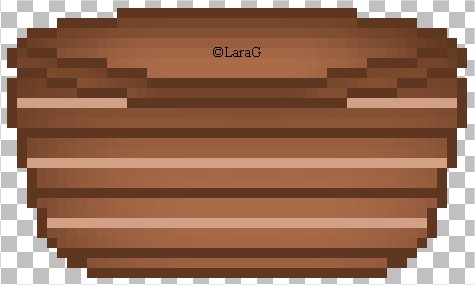
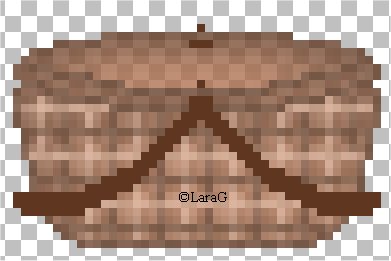
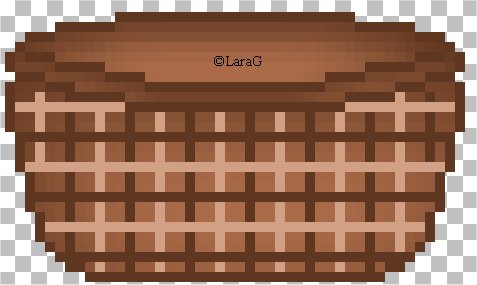
And that's it....you're done
Now go on and decorate it
